Account creation and roles assignment
This document lists everything you need to know in order to create an account and assign it a role.
Account creation
To create an account, it is necessary to go through keycloak. Below is a step-by-step description for account creation:
Go to the Keycloak console by following this url: http://localhost:8080/auth
Click on “Administration Console”
Log in as an admin.
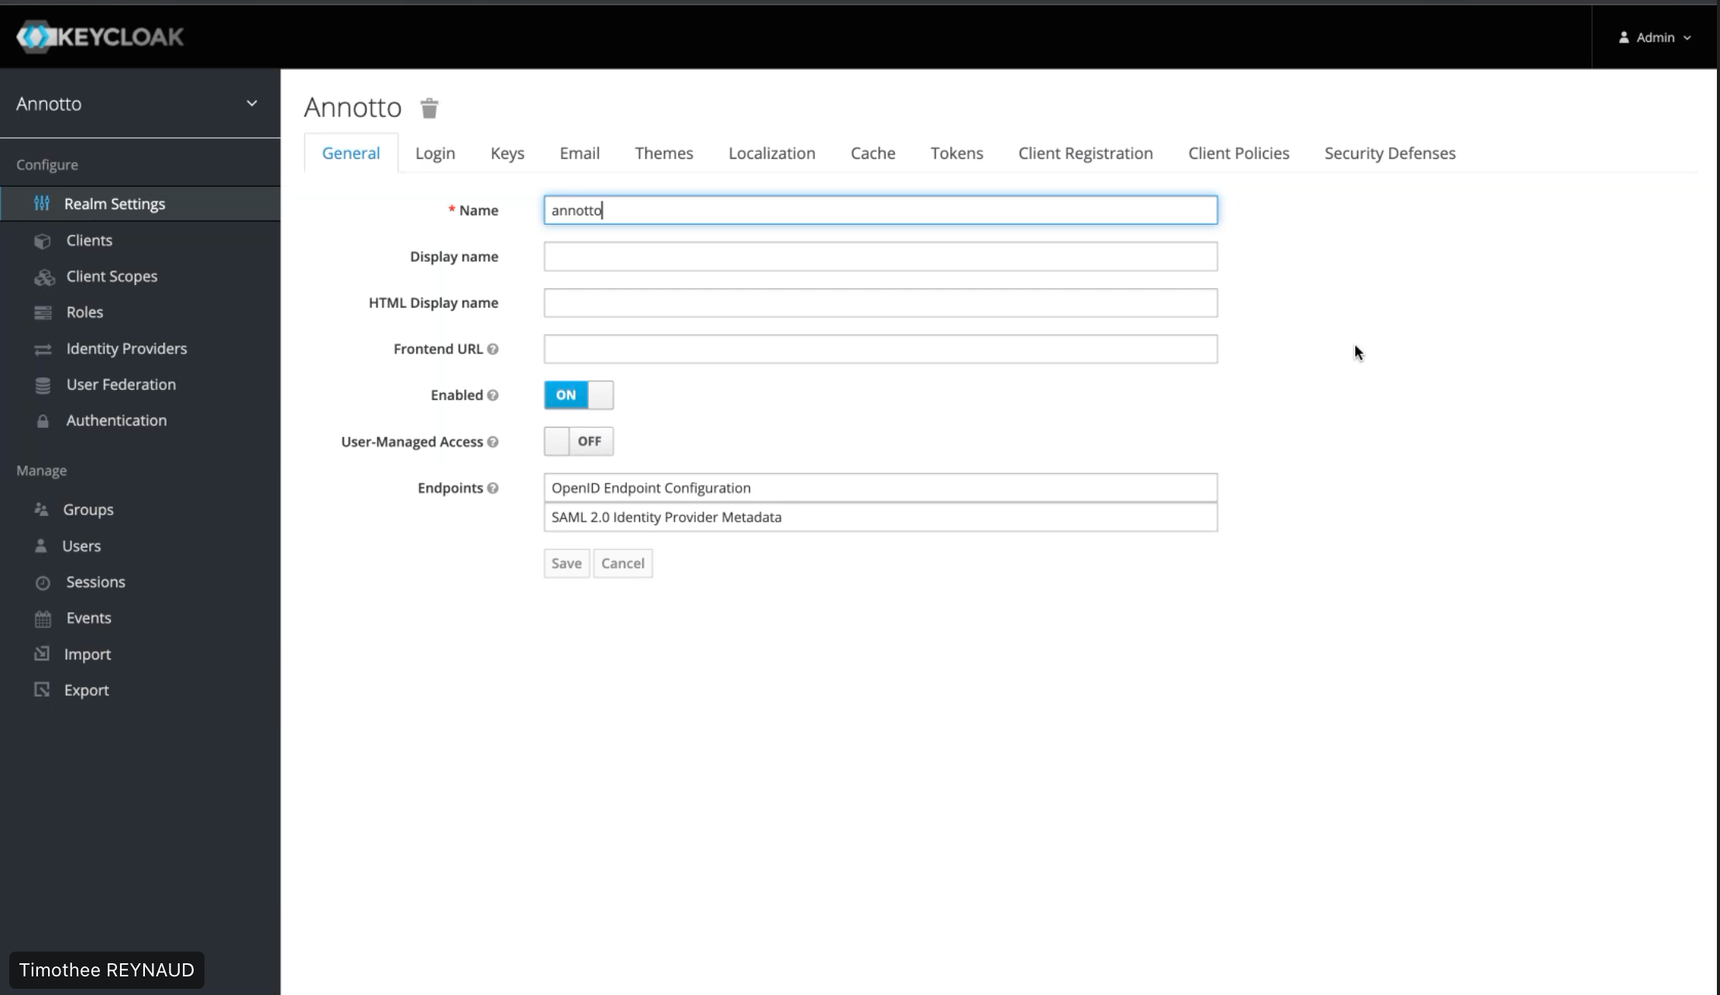
You will be redirected to this page:

Click on “Users” from the sidebar. By clicking on “View all users” you have access to all existing users.
Click on “Add user” at the top right
Fill in the fields with the information of the user you want to create
Click on “Save”
Then go to the “Credentials” tab to give it a temporary password or not (depending on the toggle)
Enter the password you want to assign to it then click on “Set Password”
At this stage your user is created but has yet to be assigned a role.
Role assignment
Following the user's creation, here are the steps to assign a role:
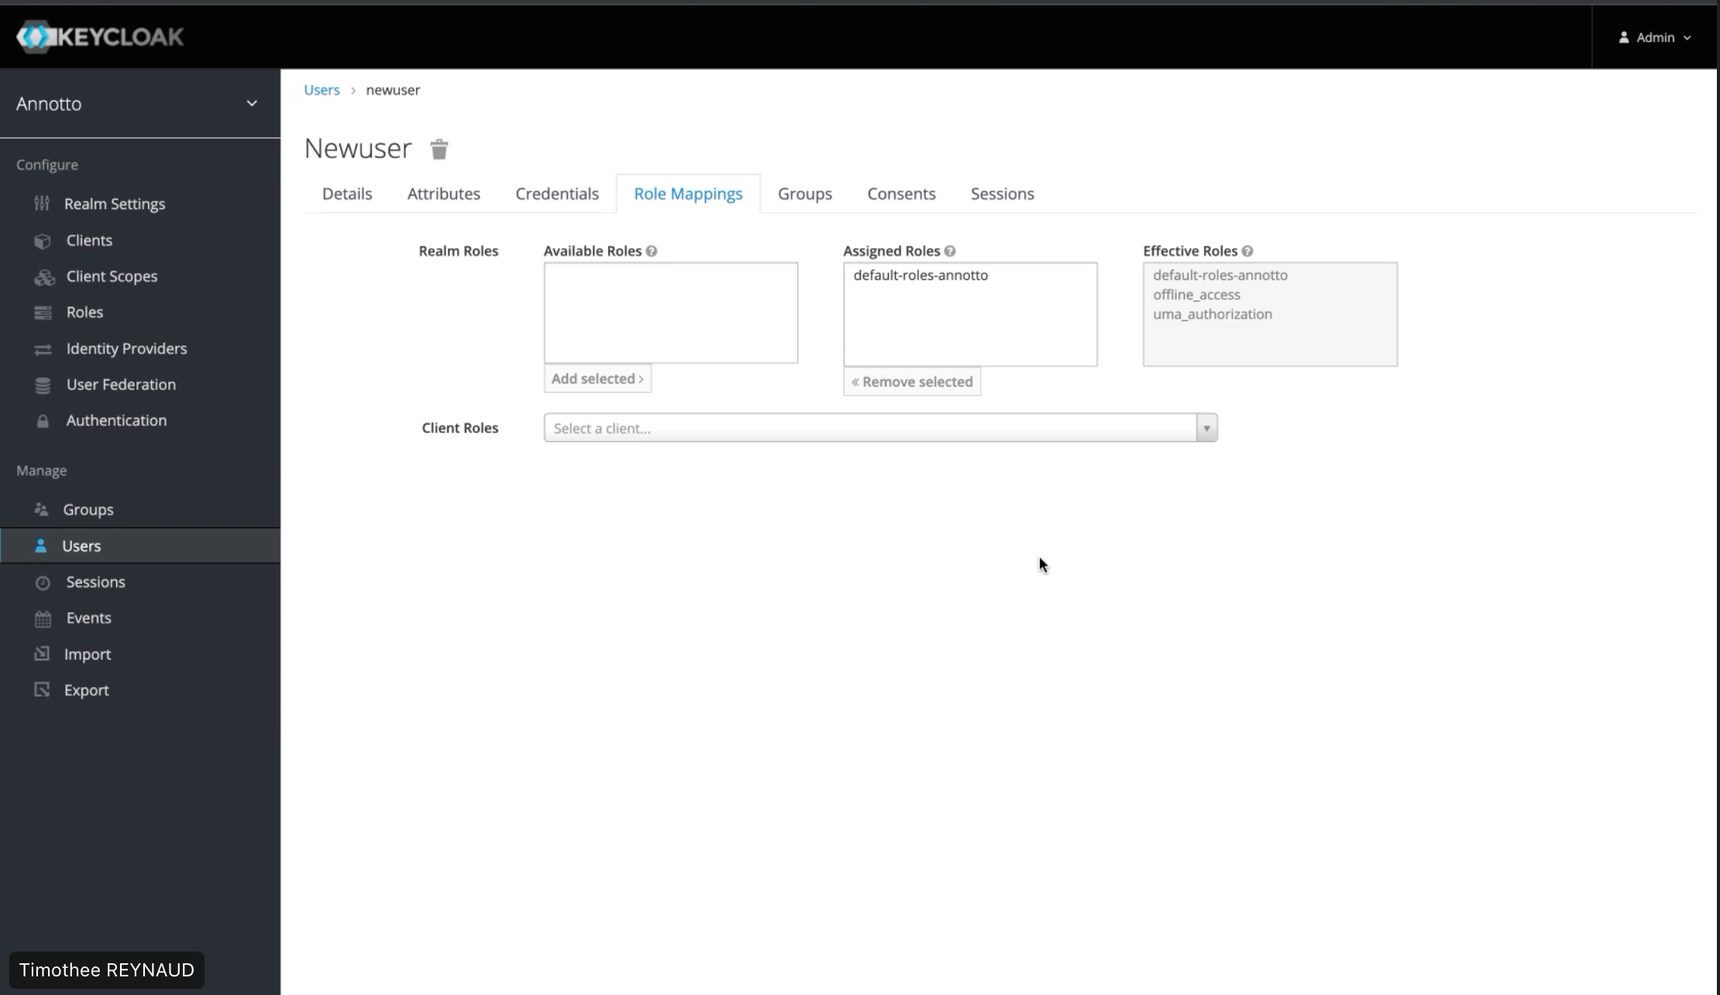
- Go to the “RoleMapping” tab of the “Users” page in keycloak

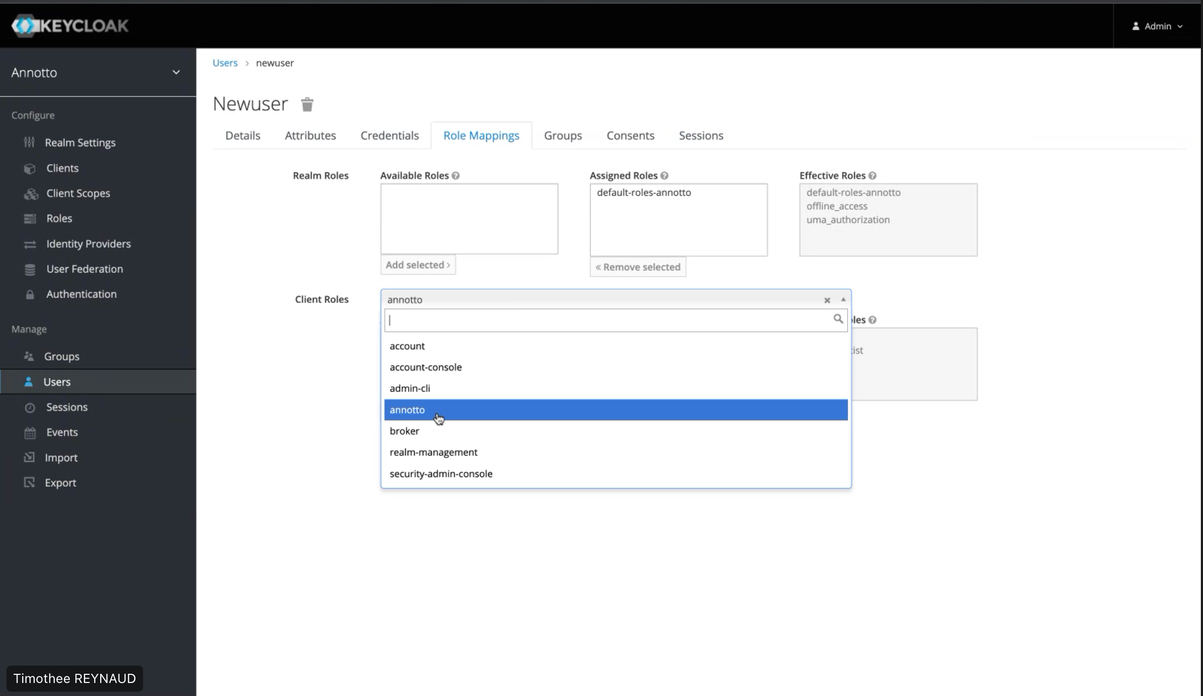
Click on “Client Roles” to find the roles that can be assigned
Choose the client, for example here we chose “annotto”

The roles available for the chosen client are displayed in the “Available roles” section
Click on the role you want to assign and click on “Add selected”
IMPORTANT : It is possible to assign multiple roles. If you choose to assign several roles to the user, he will have the union of rights assigned to each role.